
Directly connected to the same phone using a fixed network cable. Configure phone manually.
Directly connected to the same phone using a fixed network cable. Configure phone manually.
ALM PRO version 5 contains a new configuration wizard which will simplify the initial configuration of ALM PRO in different network setups.
Using the wizard a system administrator will be guided through some specific configuration steps to provide the best and the easiest solution to deploy ALM PRO within an existing Cisco UC deployment.
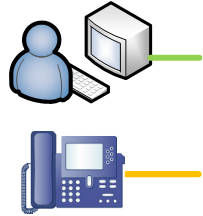
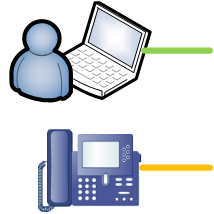
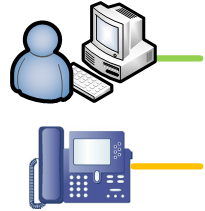
In this chapter the second option will be explained, the manual Phone configuration option. Using this method ALM PRO needs the manual configured settings to connected to the Cisco IP Phone via the Ethernet cable. This method will skip the Automatic Phone Detection and will login the user directly to the configured Phone, ALM will not check via the Ethernet cable if the correct Phone is locally connected.


Requirements:
- ALM PRO installed on local PC or laptop or within a VDI/Terminal/CITRIX environment
- Web Access enabled on the Cisco IP Phone
- ExtensionMobility (EM) already setup, configured and activated for the specific user
- Authentication, EM login based on (CallManager local) UserID and PIN
- or AD based (CallManager synced to LDAP) username
After the Connection Wizard starts chose option 2 in the Connect TAB. This will tell ALM PRO to use a manually configured Cisco IP Phone. Using this specific setup the PC/laptop and Cisco IP Phone can be within different networks and Automatic Phone Detection will be skipped, increasing the login time to ~0 seconds.
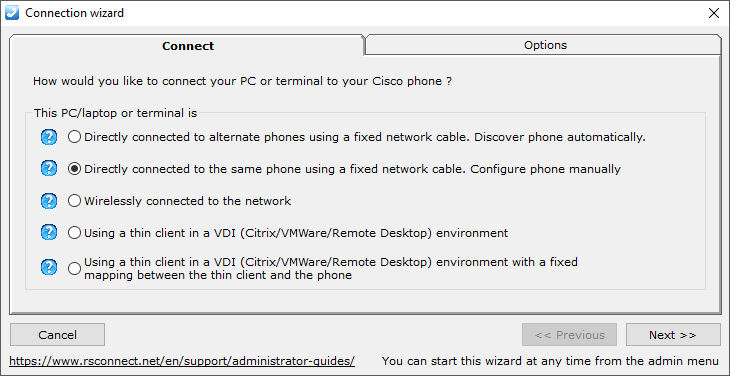
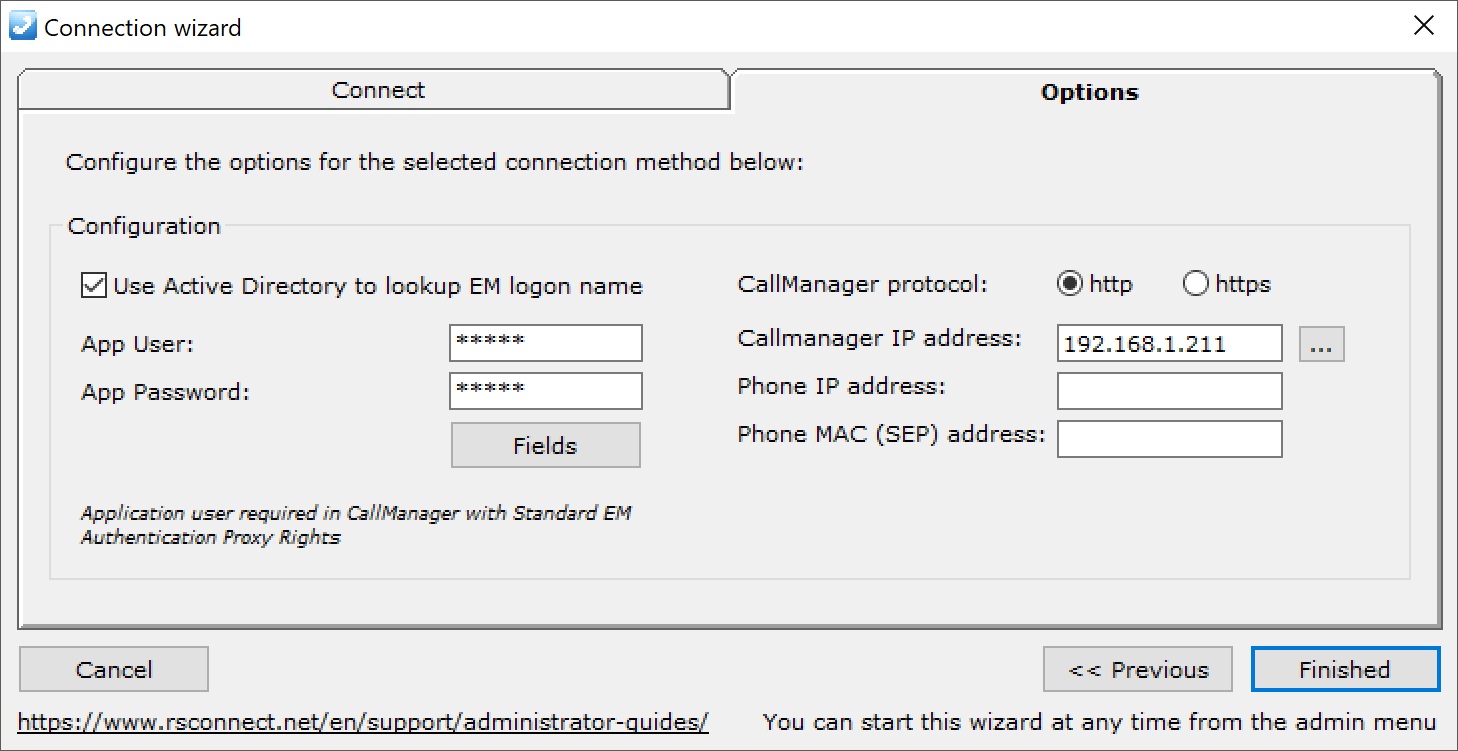
Click Next or the Options TAB to configure the Cisco IP Phone, the physical Phone to be logged in. Please note! ALM will not check if this Phone is the Phone on the same desk as the client PC, make sure you enter the correct details.
Fill in the CallManager protocol, preferably HTTPS, next enter the CallManager IP address or FQDN. For redundancy purposes multiple CallManagers can be configured. Next add the Cisco IP Phone IP Address, this is the IP address of the Cisco IP Phone to login and enter the SEP address, or MAC address with SEP in front.
Optionally you can enable ActiveDirectory authentication. This options allows you to specify the App username and App password so ALM is able to use real SSO. For this option to function correctly two criteria must be enabled:
- Within the CallManager an EMProxy user must be configured
- CallManager must be setup to use LDAP authentication
The Active Directory settings are optional and can be used in the situation where the synchronized Windows UserID is used for authentication. The AppUser and AppPassword must be configured in ALM and within the Communications Manager. For more information see this How-to manual.
In the situation where the VOICE and DATA VLAN are separated and there is no communication possible between the PC or laptop to the Cisco IP Phone refer to option 3 in this wizard.