
ALMPRO Advanced Deployment guide
ALMPRO Advanced Deployment guide
ALMPRO Advanced Deployment
The installation of ALMPRO has always been very straightforward. But within large organisations there is often a need to have more control over the method of deploying ALMPRO.
Therefore, we have added several enhancements to the ALMPRO installation procedure to allow custom installation of the ALMPRO software, configuration settings and License file.
Preparation
To benefit from the enhanced installation features of ALMPRO follow the steps below:
> Step 1
- Download the ALMPRO software from the [software] section from the RSconnect Customer Service Centre (CSC). http://www.rsconnect.net/en/login
- Download the appropriate license file from the [License] section.
- Download the software (.exe) and optionally the .msi from the [Software] section.
- .Extract the setup file and the license file in the same directory
- Make sure the license file is named lic.
- Run the installation on the local machine and verify the license in the About menu.
> Step 2
- Generate a customer specific settings file.
- run ALMPRO as an administrator.
- double click ALMPRO from the system tray.
- click the Options/Admin Settings menu.
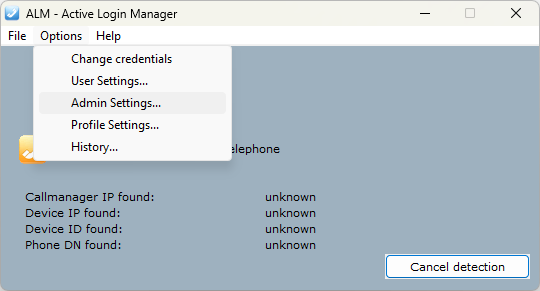
- configure the required settings.
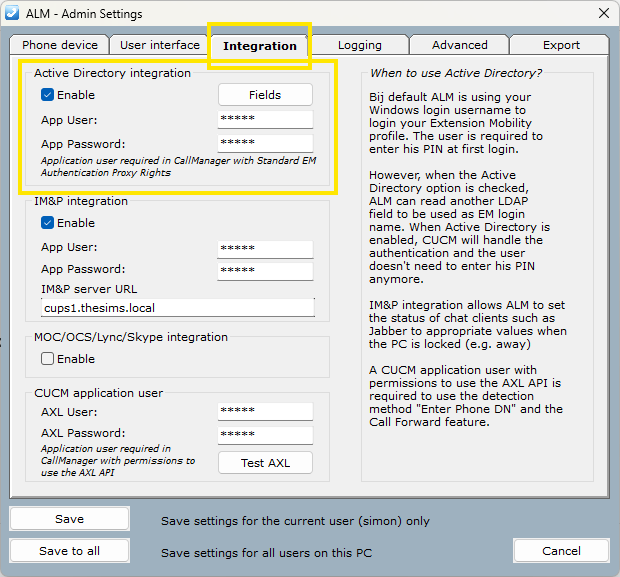
- Open the Export TAB, click the Export button to store the configuration in a settings file.

- Store the settings file in the same directory as the other two files.
- make sure the settings file is named .txt.
- The folder should now list 3 files, or 4 when using .msi.
- .msi (optional)
- .exe
- .lic
- .txt
Deployment
Now when you start the ALMPRO setup manually or via a scripted installation, ALMPRO setup will use the files located in the same source directory and will deploy and apply them during the installation process.