How to create an AXL application user
How to create an AXL application user
How to create an AXL application user?
This document describes the steps to create an AXL application user.
This AXL application user is required for several features of ALM. One of this feature is to logon to a phone by entering the DN of the logged of phone. This is a feature which can be used in Terminal Networks, Split Networks or Wireless Networks.
If no Automatic Device Detection (ADD) can take place because there is no physical 1-on-1 network connection between the computer and the device this method can be used. It is an alternative to the method of using a mapping file.
It allows a user to enter the Directory Number (DN) of the logged off Phone, ALM will query the Communications Manager (CUCM) and will login the user to the phone.
Prerequisites
This manual describes steps suited for Communications Manager 10.x. older versions of CUCM may differ.
Step 0
Login to Cisco Unified Communications Manager as an Administrator and navigate to User Management \ Application User and create a new Application user with the username almaxluser and password almaxluser
Step 1
Login to Cisco Unified Communications Manager as an Administrator and navigate to User Management \ User Settings \ Role
Step 2
On the Find and List Roles page click Add New

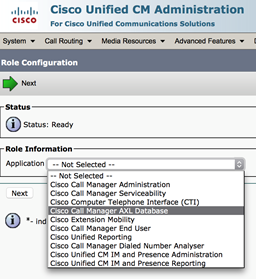
Step 3
On the next page select “Cisco CallManager AXL Database” from the pull-down menu and click Next
Step 4
Add a “Name” and a “Description” and tick the box called “Allow to use API”
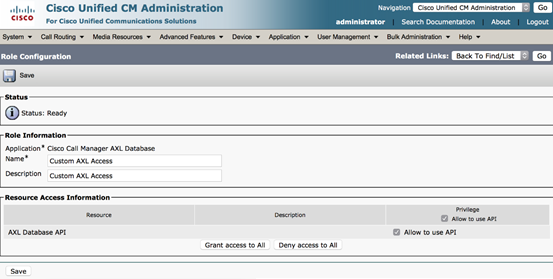
Click Save
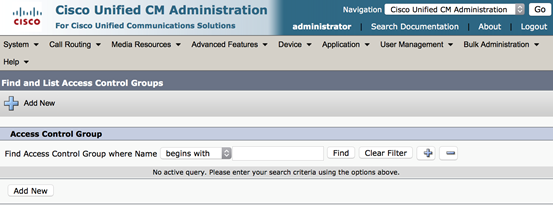
Step 5
Navigate to User Management \ User Settings \ Access Control Group
Step 6
On the Find and List Roles page click Add New
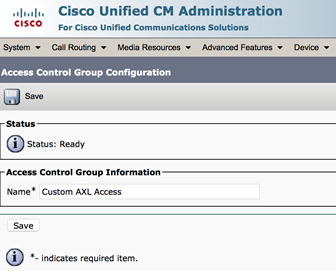
Step 7
Add a “Name” and click Save
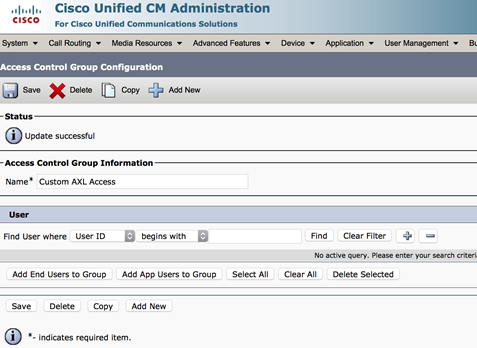
Step 8
On the next page click “Add App User to Group”
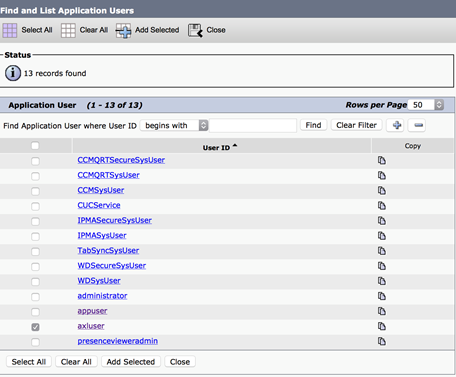
Step 9
Within the new page that pops-up search for the user with UserID almaxluser, tick the box to select the user and click on Add Selected
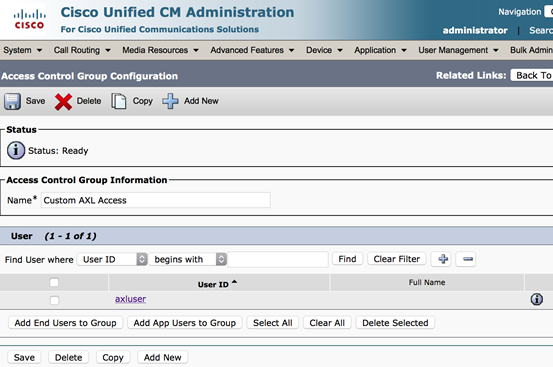
Step 10
On the previous page click Save
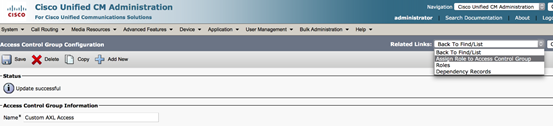
Step 11
In the top right corner select Assign Role to Access Control Group from the pull-down menu
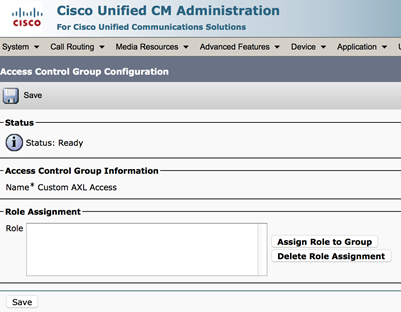
Step 12
In the next windows click on the button Assign Role to Group
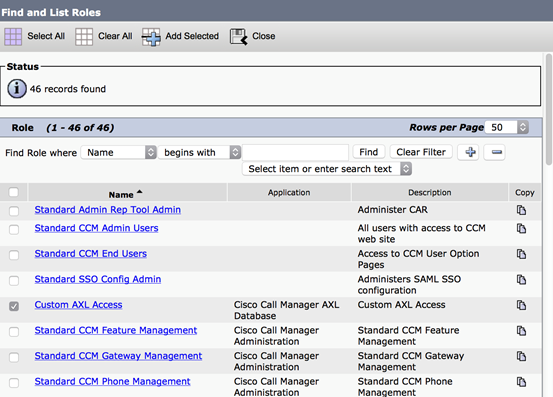
Step 13
On the Find and List Roles page click on find button and select Custom AXL Access tick the box to select the Role and click on Add Selected
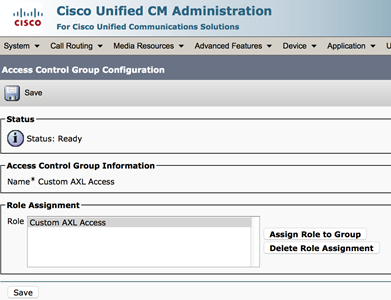
Step 14
On the previous page click Save
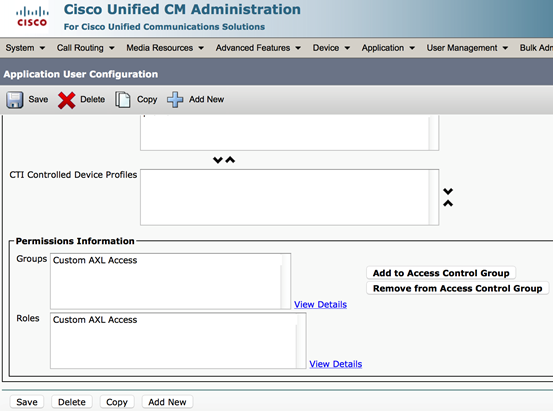
Step 15
Return to the Application User page under User Management, search for the in step 0 created Application User and verify the Groups and Roles configuration, it must no contain the Custom AXL Access reference